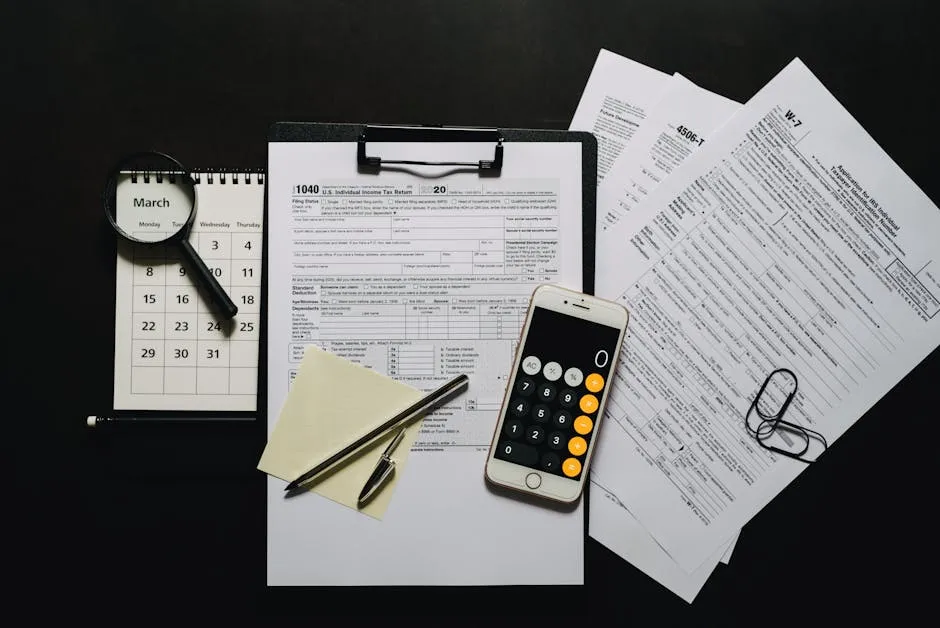
Whether you’re a new notary or just need a refresher, following the correct notarization process protects both you and the signer. This guide covers every step of a proper notarization.
Before You Begin
Make sure you have these items ready:
- Your notary stamp or seal
- Your notary journal (record book)
- A pen with blue or black ink
- The document to be notarized (unsigned unless you’re doing an acknowledgment)
Important: The signer must always be physically present during the notarization. This is non-negotiable and is the most critical rule of notarization.

Step 1: Verify the Signer’s Identity
The most important part of any notarization is confirming the signer is who they claim to be. Use at least one of these methods:
- Personal knowledge — you personally know the signer
- Credible witnesses — two witnesses who personally know the signer (used when the signer lacks acceptable ID)
- Identification documents — the most common method
Acceptable identification typically includes:
- A current state-issued driver’s license or ID card
- A valid U.S. passport or passport card
- A military ID card
- Other government-issued photo ID with signature
The ID must be current or issued within the last 5 years and contain a photo, signature, and physical description.
Step 2: Review the Document
Before proceeding, scan the document briefly to check:
- The document is complete (no blank spaces in important fields like dollar amounts)
- There are no obvious signs of fraud
- The document type matches what the signer is asking you to notarize
- The document doesn’t contain blank spaces that could be filled in later
Step 3: Ensure the Signer Understands the Document
As a notary, you’re not responsible for explaining the document’s contents, but you should confirm the signer:
- Understands what they’re signing
- Is signing voluntarily (not under duress)
- Appears to be competent and aware
If the signer seems confused or coerced, do not proceed with the notarization.
Step 4: Have the Signer Sign the Document
The signing process depends on the type of notarization:
- Acknowledgment — the signer has already signed or will sign in your presence. You’re certifying they appeared before you and acknowledged signing.
- Jurat — the signer must sign the document in your physical presence after you administer an oath or affirmation.
Step 5: Complete the Notarial Certificate
The notarial certificate (the block of text at the end of the document) must include:
- The state and county where the notarization takes place
- The date of the notarization
- The signer’s name
- The type of notarial act performed
- Your notary signature
- Your stamp or seal
If the document doesn’t include a notarial certificate, ask the signer what type they need. Do not choose the certificate type yourself — that’s considered the unauthorized practice of law.

Step 6: Record the Notarization in Your Journal
Immediately after completing the notarization, record it in your notary journal:
- Date and time of the notarization
- Type of notarial act (acknowledgment, jurat, etc.)
- Signer’s name and signature
- Type of identification presented
- Document title or description
- Document date (if applicable)
- Fee charged (if any)
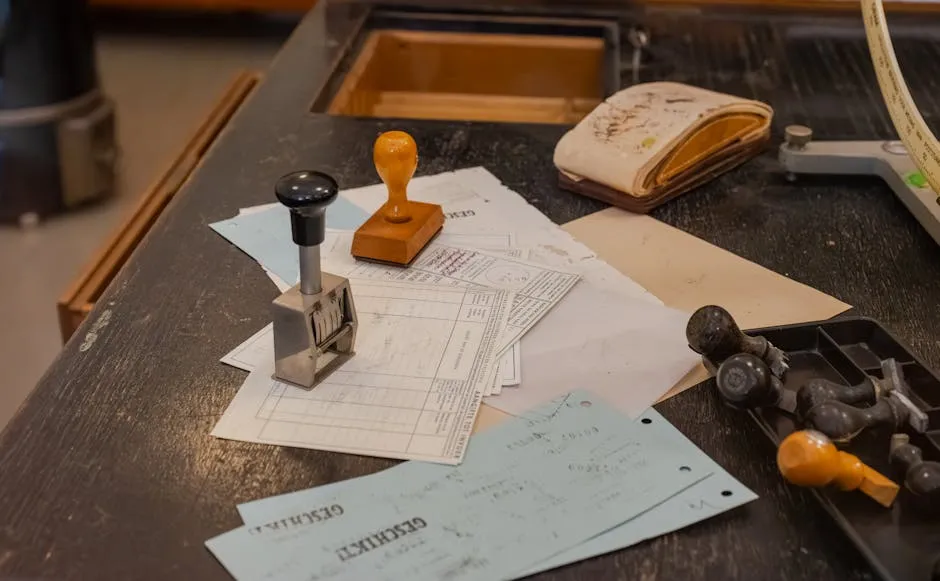
Step 7: Affix Your Notary Stamp
Place your stamp clearly and legibly:
- Near your signature on the notarial certificate
- Ensure the stamp is completely visible (don’t cover it with other text)
- The stamp must include your name, commission state, commission number, and expiration date
- Use stamp ink that copies clearly (black or blue)
Common Notarization Types
Here are the most common types you’ll encounter:
- Acknowledgment — The signer acknowledges they signed the document willingly. Most common type.
- Jurat — The signer swears or affirms the document’s contents are true. Used for affidavits and depositions.
- Oath or Affirmation — Administering a spoken oath (not always tied to a document).
- Copy Certification — Certifying that a copy of a document is a true and accurate reproduction.
- Signature witnessing — Witnessing a signature without any additional certification.
Common Mistakes to Avoid
- Notarizing without the signer present — the #1 mistake and grounds for revocation
- Failing to record in your journal — your journal is your best legal protection
- Using expired commission — check your expiration date before every notarization
- Letting someone else use your stamp — your stamp is for your use only
- Notarizing incomplete documents — never notarize a document with blank lines in critical fields
- Giving legal advice — you’re not a lawyer; if they have legal questions, refer them to an attorney
Frequently Asked Questions
Can I notarize a document for a family member?
This depends on your state. Many states allow it but strongly discourage it. Financial institutions and title companies often reject documents notarized by a family member due to conflict of interest concerns.
What if the signer doesn’t speak English?
You can use an interpreter, but the interpreter must not be a party to the transaction. You must still verify the signer’s identity through acceptable identification documents.
How much can I charge for a notarization?
Fees vary by state. Most states set maximum fees — for example, California allows $15 per acknowledgment, while Texas allows $6. Check your state’s specific fee schedule.
Do I need to keep my journal forever?
Most states require you to retain your notary journal for a specified period after your commission expires, typically 5-10 years. Check your state’s requirements. Never throw away your journal without verifying the retention period.
What should I do if I make a mistake on a notarial certificate?
Do not use white-out. Instead, draw a single line through the mistake, write the correction nearby, and initial it. If the mistake is significant, attach a new notarial certificate with the correct information.