Disclosure: NotaryStyle earns from qualifying purchases as an Amazon Associate. We independently research and recommend products. When you click links to buy products, we may earn a commission at no additional cost to you. Our recommendations are not influenced by commission — we only feature products we believe provide value to notaries.
This article is for informational purposes only and does not constitute legal advice. Notary laws and requirements vary by state. Always consult with an attorney or your state's notary regulatory agency for specific legal guidance regarding I-9 verification procedures.
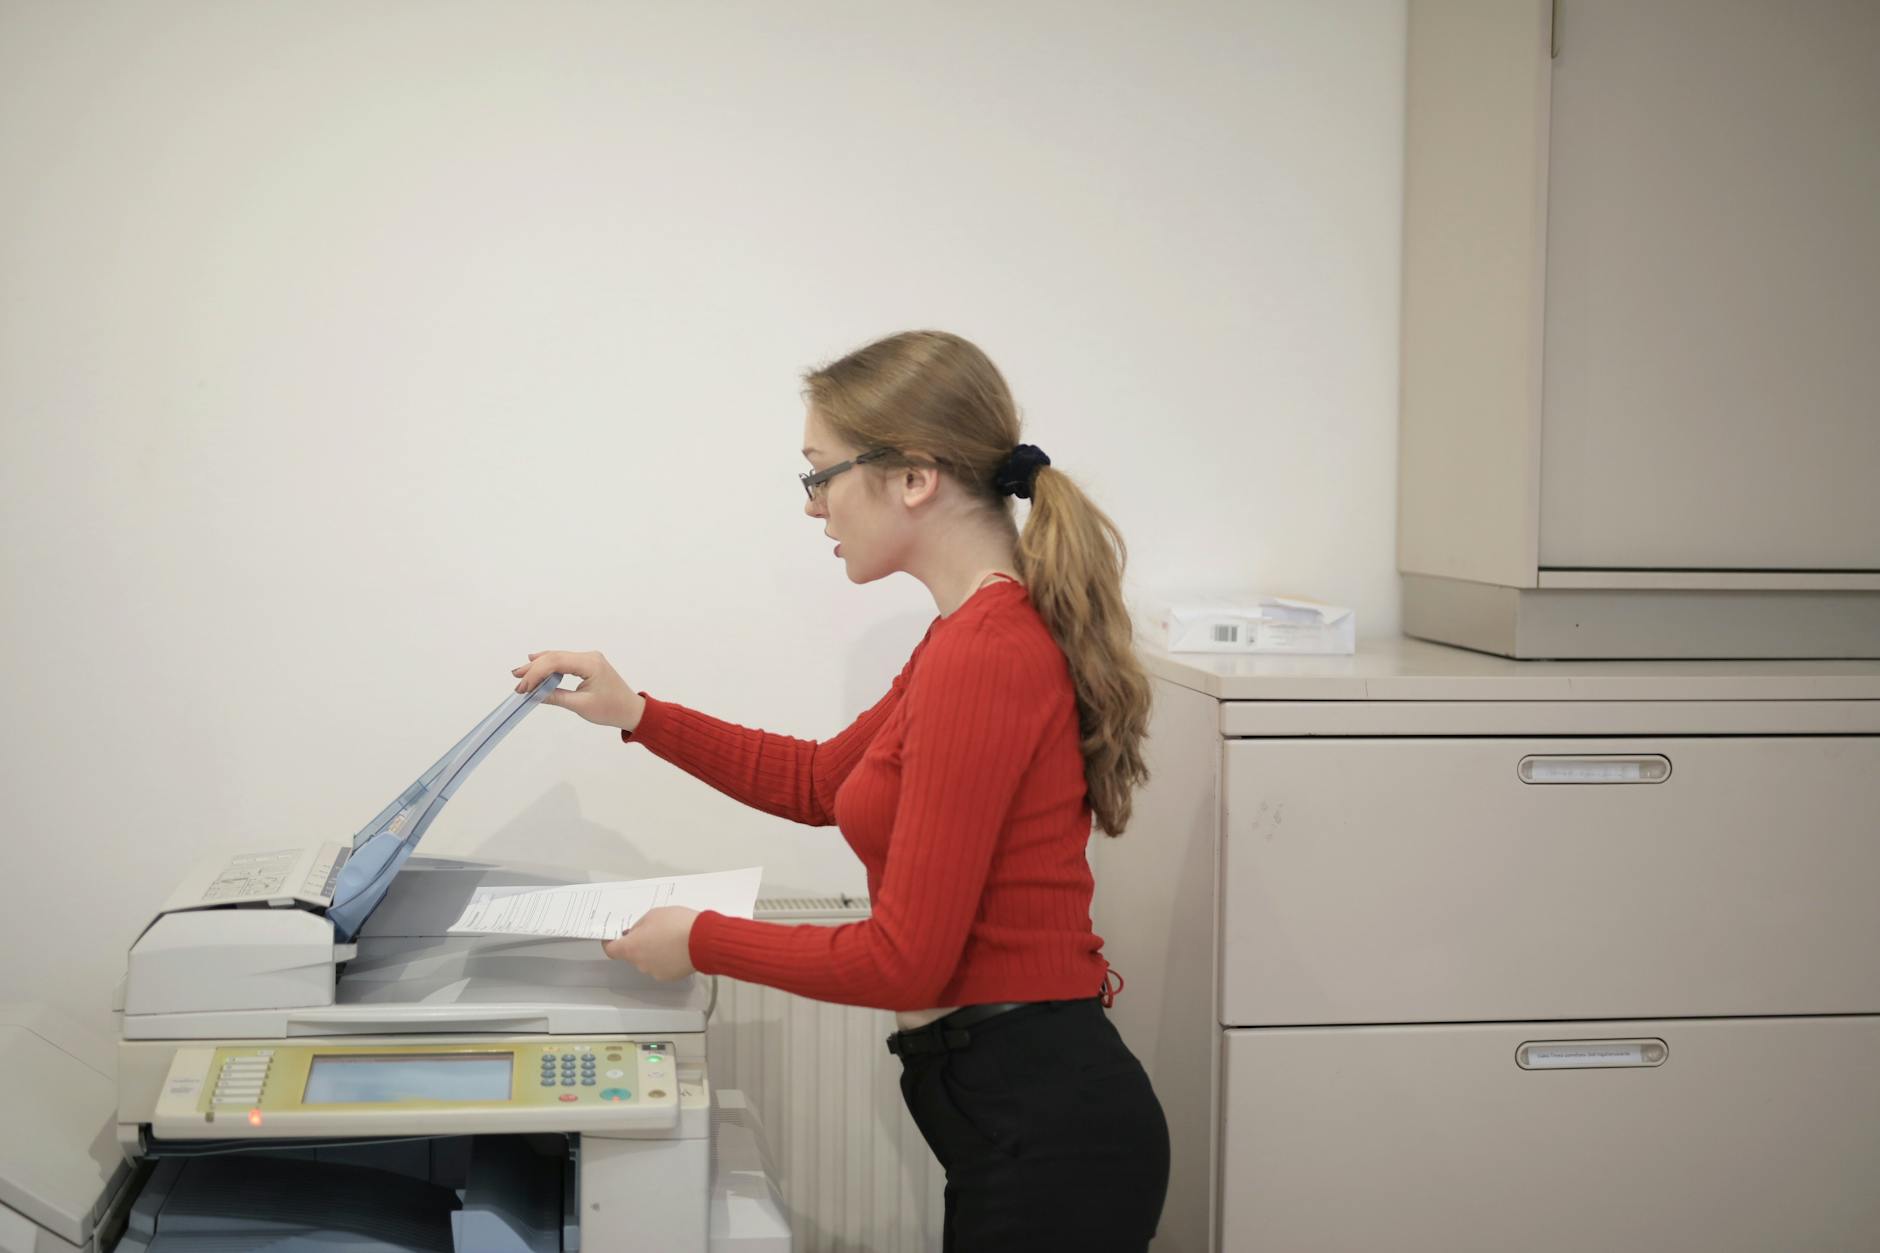
If you've been asked to act as an I-9 notary, you are stepping into a process that confuses even seasoned professionals. The request to "notarize an I-9 form" is incredibly common, especially in remote hiring situations, but it actually relies on a fundamental misunderstanding of what the form requires.
You cannot perform a traditional notarial act on a Form I-9. There is no certificate of acknowledgment, no jurat, and no oath required. Instead, when someone asks you to notarize an I-9 form, they are actually asking you to act as an "Authorized Representative" for the employer.
Understanding this distinction is absolutely critical. If you approach this form the same way you approach a mortgage or a power of attorney, you will make errors that could cause compliance issues for the employer and liability issues for you. Here is exactly how to handle the request to notarize an I-9 form in 2026.
Understanding Your Role: Notary vs. Authorized Representative
When an employer hires a remote employee, that employer is still legally required to physically examine the employee's identity and employment authorization documents. Because the HR department is usually in another state, they delegate this task to a local notary public.
However, when you agree to do this, you are stepping out of your official capacity as a notary public and stepping into the shoes of the employer's agent. You are an Authorized Representative (AR). Because you are not performing a notarial act, your state's notary laws generally do not govern this process. Instead, you must follow the employer's specific instructions and the rules set by U.S. Citizenship and Immigration Services (USCIS).
This means you do not use your notary seal, you do not complete a notarial certificate, and you typically do not record this in your notary journal as a notarization (though some notaries choose to log it for their own personal records).

Prerequisites Before You Begin
Before you ever sit down with the employee, you need to set the stage properly to ensure a smooth transaction.
First, communicate with the employer. You need explicit authorization from the company stating that they are designating you as their Authorized Representative for this specific I-9 verification. Many companies will provide a cover letter or a specific instruction sheet.
Second, confirm who is filling out which sections. The employee must always complete Section 1 by themselves before you even look at the form. You are only responsible for Section 2 (and occasionally Section 3 for re-verification, which is rare during initial hiring).
Third, understand that you cannot charge your standard notary fee for this service. Because it is not a notarization, state fee schedules for notaries do not apply. You are acting as a freelance agent for the employer, meaning you and the employer must privately negotiate your compensation. You will typically want to secure payment information from the employer before the appointment begins.
Materials You Will Need
To complete the I-9 verification properly, make sure you have the following items ready:
- The most current version of Form I-9 (always verify the version date in the lower left corner, as USCIS updates it periodically)
- A reliable black ink pen (USCIS requires black ink)
- The employee's original, unexpired identification documents
- Any instruction sheets or authorization letters provided by the employer
- A secure way to return the completed form to the employer, such as a secure document scanner or a prepaid overnight envelope
Step-by-Step Process for I-9 Verification
Once you are sitting with the employee and have verified that Section 1 is fully and accurately completed by them, you can begin your portion of the form. Follow these steps exactly:
1. Physically Examine the Original Documents
The employee must present either one document from List A, or one document from List B combined with one document from List C. These lists are printed on the back of the I-9 form. You must physically hold and examine the original documents. Photocopies, faxes, or digital scans of the documents are strictly unacceptable.
2. Verify the Documents Are Acceptable
Ensure the documents reasonably appear to be genuine and relate to the person presenting them. Check the expiration dates. With very few exceptions (like certain Permanent Resident Cards), all documents presented must be unexpired. If you have reason to believe a document is fraudulent, you are not required to accept it, and you should consult the employer.
3. Record the Document Information in Section 2
Using black ink, transcribe the document title, issuing authority, document number, and expiration date (if applicable) exactly as they appear on the physical documents. Do not abbreviate issuing authorities unless they are abbreviated on the document itself.
4. Enter the Employee's Information
Enter the employee's first and last name exactly as it appears in Section 1, along with their citizenship or immigration status.
5. Enter the Employer's Information
This is where many notaries stumble. You must enter the employer's legal name and address exactly as the employer provided it to you in their instructions. Do not use your own notary business name or address. You are acting on behalf of their company, so their company information goes in this section.
6. Sign and Date the Form
In the signature block, print your name, sign your name, and enter the date you physically examined the documents (this must be the date the employee begins working for pay, or within three business days prior).
Under "Title of Agent or Person Completing Form," you should write "Authorized Representative." Do not write "Notary Public."
7. Return the Form to the Employer
Do not keep the I-9 form. It belongs to the employer. Scan it securely or mail it back to the HR department or recruitment agency that hired you.

Common Mistakes to Avoid
Even experienced notaries make errors when acting as an I-9 verification notary because the rules are so different from standard notarizations. Here are the most common pitfalls to watch out for:
Applying your notary stamp. This is the number one mistake. Do not stamp the I-9 form. An I-9 is not a notarized document, and applying your seal to it can cause the employer to reject the form, as it creates confusion regarding the nature of the act performed. Keep your notary stamp in your bag.
Accepting expired documents. Unless the employee presents a valid Permanent Resident Card (Form I-551) that has a specific expired status but is otherwise acceptable, you cannot accept expired List B or List C documents. Always check the dates.
Letting the employee fill out Section 2. The employer (or their AR, which is you) must complete Section 2. The employee should never write in this section.
Entering your own business address. If you work from a home office, do not put your home address in the employer address field. Put the address of the actual company hiring the employee.
Backdating or pre-dating. You must sign and date the form on the actual day you are physically looking at the documents. If the employee started work last week and the employer is just now getting around to having you verify them, that is an employer compliance issue. You still date it for the day you perform the physical examination.
Troubleshooting and Special Scenarios
Sometimes, the I-9 verification process doesn't go smoothly. Here is how to handle a few tricky situations you might encounter.
What if the employee doesn't have the right documents? If the employee shows up with two List B documents and no List C document, for example, you cannot complete the form. Politely explain that the federal government requires specific combinations of documents. You should not advise them on which documents to go get, as this could be construed as unauthorized legal advice. Simply show them the lists on the back of the form and ask them to return with the correct combination.
What if the employee pre-filled Section 2? Stop right there. Do not sign a form where the employee has filled out the employer section. Ask for a blank form, have them complete Section 1 on the new form, and you complete Section 2 yourself.
What if the employer asks me to verify documents remotely via video call? As of 2026, standard I-9 rules require physical, in-person examination of documents. While USCIS has occasionally offered temporary flexibilities for remote verification during national emergencies, the baseline rule is that you must be in the same room as the documents. Unless the employer explicitly confirms they are utilizing a specific, legally sanctioned alternative procedure (like E-Verify's remote pilot program for enrolled employers), you should insist on an in-person meeting to protect yourself from liability.
What if I suspect the documents are fake? You are not a document fraud expert, but you are expected to use reasonable judgment. If a document looks altered, features a blurry photo, or feels like poor-quality paper, you can refuse to accept it. Notify the employer immediately that you could not verify the documents and explain why. It is generally best practice to avoid confiscating the documents yourself; simply decline to complete the form.
Acting as an I-9 verification notary is a great service to offer, especially as remote work continues to be the norm for many companies. By understanding your role as an Authorized Representative, rejecting the urge to apply your notary seal, and meticulously following the employer's instructions, you can provide a highly valuable service while keeping yourself compliant. For more insights into managing your notary business, check out our state-specific notary guides to ensure you are following all local regulations.
Want to add I-9 verification to your services? Our I-9 Verification Pro course teaches you how to work with employers, understand I-9 requirements, and build a reliable revenue stream from employment verification.
Frequently Asked Questions
Can I use my notary seal on an I-9 form? No. You should never use your notary seal or notary stamp on a Form I-9. You are acting as an Authorized Representative for the employer, not performing a notarial act. Using your seal can invalidate the form and cause compliance headaches for the employer.
How much can I charge to complete an I-9 verification? Because completing an I-9 is not a notarization, your state's maximum notary fee limits do not apply. You and the employer should agree on a fee privately before you provide the service. Many notaries charge anywhere from $25 to $75 for this service, depending on travel time and the complexity of the employer's instructions.
Am I legally liable if the employee turns out to be unauthorized to work? Under USCIS rules, the employer bears the primary liability for hiring unauthorized workers. As an Authorized Representative, you are expected to examine the documents in good faith. If the documents reasonably appeared to be genuine and you followed the proper procedures, you generally have a strong defense against liability. However, if you knowingly accepted obviously fake documents or failed to physically examine them, your liability exposure increases significantly. Carrying Errors and Omissions Insurance is always a good idea to protect yourself in case an employer tries to shift blame onto you.
Should I record the I-9 verification in my notary journal? It is generally not required by state law, because it is not a notarization. However, many notaries choose to log it in their journal anyway with a note like "Completed I-9 Section 2 as Authorized Representative for [Company Name]." This creates a paper trail for your own records in case a dispute arises later regarding what documents you examined or when you examined them.
What if the employer's instructions contradict federal I-9 rules? You should always follow federal USCIS rules over an employer's instructions. If an employer tells you to accept a photocopy of a driver's license, or asks you to backdate the form, you must refuse. You can point them to the official USCIS Handbook for Employers (M-274) for clarification.